We all know that twitch is getting famous day by day; this is why the number of users is also increasing. It can be a disadvantage for some streamers as new users come with unique ideas and streaming options. So, is there any way to safeguard your rank? Yes, making your profile picture more appealing can be a way through which you can save your reputation in the legend’s league.
So, if that’s the way, then the second question that will pop in your mind will be how to change the twitch profile picture? Let me tell you that it’s not daunting at all, especially when you have a complete guide.
Therefore, in this article, I have listed all the possible ways and some significant details. This catalog will guide you on how to change your profile picture on twitch with the easiest tools.
So, change your profile picture without any further delay by following the successive threads.
Table of Contents
ToggleHow to Make a Profile Picture-Tips
Before making a profile picture, here are some vital things that you need to know. These rules are designed by twitch itself so that the streamers don’t face any issues in the future. You need to follow those laws before making your new profile picture.
- The image must be in PNG, GLF, or JPEG form.
- It should not exceed the limit of 10MBs.
- Choose a small size picture.
- Avoid offensive or illegal content.
- Opt for a logo.
- You can make multiple changes as you want.
- Make sure it matches your personality.
- Avoid copying from others.
- Come with creative and catchy ideas.
- Choose appealing colors.
- Consider free editing tools.
How to Make a Picture via Kapwing Studio
Kapwing is a free editing tool that allows you to edit different images. This source is the best possible option to make an appealing profile picture for your twitch account. It’s because it comes with many editing tools and color coordination. Opting for these handy tools will surely aid you in having a beautiful and elegant profile picture according to your personality.
So, let’s see how it works then.
Always Start With a Blank Concave
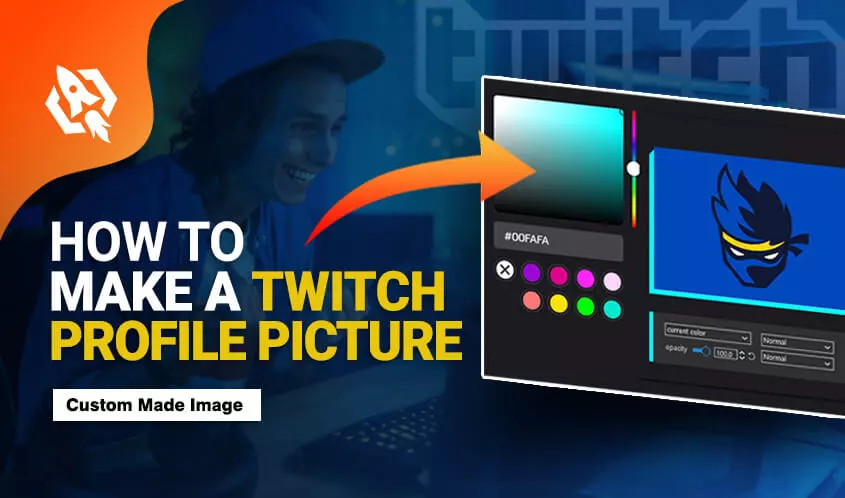
Choosing a blank background for making your avatar is the best option because you can add any colour you want to add. Therefore, on this tool, consider the 1:1 aspect ratio of the background and choose one colour according to your liking.
Once done, you can consider hex code or experiment from the right corner to choose the best colour. You can do this till you find the right background for your avatar.
Create Design
Once you have selected the design, paste the logo you have to choose and edit it. You can do this by adding “text” from the toolbar. While doing this, remember that you need to be creative, distinctive, and original.
You should add such text that represents your personality and reflects your channel.
Consider Existing Designs
It is advised by the knowing studio users to consider the existing designs. Do you know why? If not, let me tell you that these layouts are free of cost. Secondly, they are designed by top-notch designers that know all the critical expectations about making a logo. During formation, they make sure to cover every aspect that an ideal avatar should have.
Therefore, other than knowing your search bar and opting for the best designs that match your account.
Download and Publish
Now that you have matched every colour and formed an appealing avatar that will surely drag viewers’ attention, it’s time for the next step.
On the next strand, click on the top right corner and tap on “publish.” All the changes you have made will be saved, and the app will make them ready for you to download.
You will see the “download” option on the next page; press on that to “save” it to your device.
Upload It to Twitch
It’s the last process after which your account is ready to flaunt your profile picture and attract millions of viewers.
- So, open your “twitch account,” tap on the “profile icon,” and scroll down.
- In the list, you will see “settings.”
- Click on that and choose “update profile picture.”
- After that, tap on that button to upload the profile picture you created.
- “Save” and upload your profile picture.
Related: How to Give Bits on Twitch
Frequently Asked Questions
Usually, 1000-100 0r 480-480 size of the image is considered the best. With this size, viewers will see the avatar without any distraction.
Yes, you can, but make sure that the file exceeds more than 10MBs.
Adobe animation character installer is the prime editor that allows you to make any picture in desired ranges.
Verdict
Making a profile picture is not easy at all; there are many things that you need to know during formation. Therefore, looking at the twitch laws, I have shared ways to make your profile picture easily. With these steps, you will be able to make an appealing and distinctive avatar for your account. So, show your creative side and repute in legend’s league.


